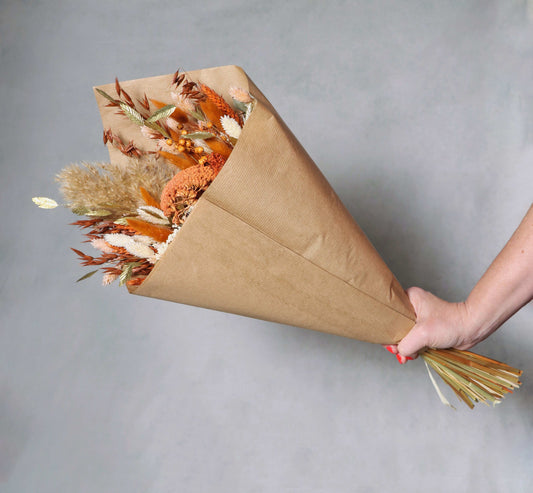
How to Make Your Own Dried Flower Wreath
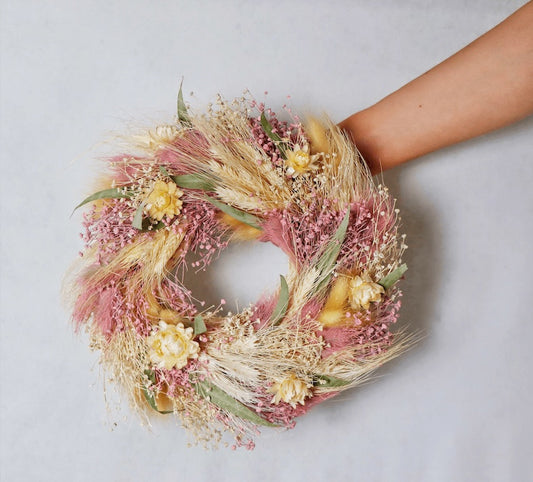
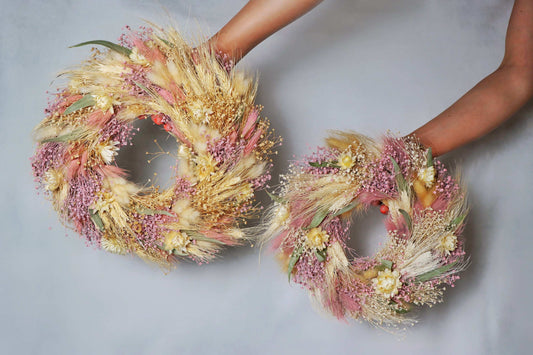
Written by Daniel LoeblThere are several reasons why dried flowers have become so popular. Their faded colours, delicate textures, and long-lasting charm bring a soft, natural elegance to any room. If you’re looking for a creative and mindful project, making your own dried flower wreath is a wonderful way to add timeless décor to your home, gift a loved one something unique, or even prepare for a seasonal celebration.
In this guide, we’ll walk you through the process of creating your very own dried flower wreath. Whether you're a seasoned crafter or a complete beginner, this project rewards patience and creativity.
Why Choose Dried Flowers?
Dried flowers are not only stunning, they're sustainable and long-lasting too. Unlike fresh blooms, they require no water, create less waste, and can last for months or even years when properly cared for. That’s why dried floral wreaths have become so popular in recent years, especially as part of a nature-inspired home.
We carefully preserve our flowers at Dried to retain their colour, texture, and charm, making them ideal for wreath-making and styling.
What You’ll Need
Before you begin, gather the following tools and materials:
-
Dried flowers (a mix of textures, shapes and colours)
-
Wreath base (metal hoop, willow ring, grapevine, or straw)
-
Florist wire (thin and flexible)
-
Scissors or garden snips
-
Floral tape or string (optional)
-
Ribbon or twine (for hanging)
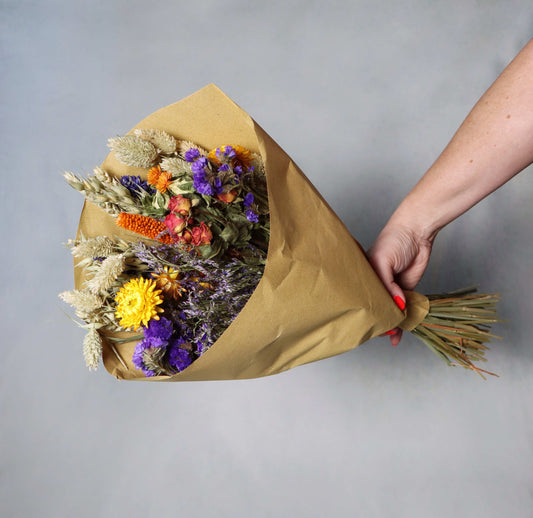
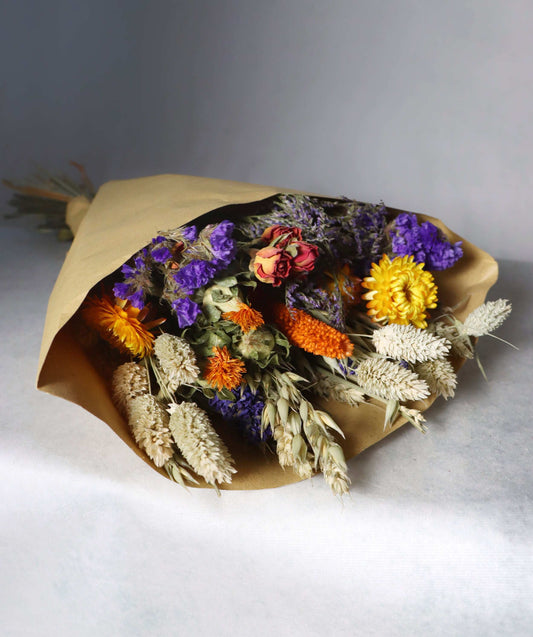
You don’t need a complete florist kit, just a few essential supplies and creative vision. You can use a pre-made dried flower mix, such as our Mono Mix Orange or Willow Fern, or gather your mix from dried stems you’ve saved at home.
Step 1 - Choose Your Flowers
The beauty of a dried flower wreath lies in its textures and natural imperfections. Aim for a mix of structural foliage (e.g. eucalyptus or grasses), focal flowers (like statice, strawflower or helichrysum), and fillers (such as lavender, bunny tails or baby’s breath).
Choose a colour palette that suits your home or the season:
-
Spring/Summer: soft pastels, blush pinks, whites, and greens
-
Autumn: burnt oranges, amber, rust tones and cream
-
Winter: whites, silver foliage, deep reds and berries
Step 2: Prepare Your Wreath Base
The wreath base sets the tone for your design. Grapevine or willow rings offer a rustic, organic feel and are ideal if you want some of the base to peek through. For a cleaner, more modern look, try a plain metal hoop.
Before attaching any flowers, decide on the wreath’s layout:
-
Will you go for a half wreath, with florals only covering part of the ring?
-
Or a full wreath, with flowers circling all the way around?
Place your hoop on a flat surface and map out where your stems will go. This planning stage saves time and keeps your design cohesive.
Step 3: Trim and Arrange Your Stems
Using scissors or garden snips, trim each flower stem to around 10-15cm in length. You’ll be building up your wreath in small bunches or mini-bouquets, so group 2-4 stems of varying sizes and textures together to form each cluster.
Tip: Always start with foliage or grasses as your base layer. This adds depth and coverage and helps the rest of your flowers stand out.
Arrange your mini-bouquets in the direction you want the wreath to flow, overlapping slightly to cover wires and stems as you go.
Step 4: Attach the Flowers to the Base
Take your first bouquet cluster and secure it tightly to the wreath base using florist wire. Wrap the wire around the stems and base several times to ensure it’s firm. Don’t cut the wire, continue using it to attach each new bundle.
Work your way around the wreath, overlapping each bundle so that the stems of the previous bunch are covered by the flowers of the next. This gives the wreath a clean, complete look.
Step 5: Finishing Touches
Once all your flowers are attached, hold up the wreath and gently shake it to ensure security. Trim any stems that stick out too far or reposition flowers as needed.
Add a loop of twine, jute string or silk ribbon at the top for hanging. For an extra touch of charm, tie a bow or add seasonal accents like dried citrus slices or pine cones (especially around Christmas).
How to Care for Your Wreath
To ensure your dried flower wreath lasts as long as possible:
-
Avoid direct sunlight to prevent fading
-
Keep it away from humidity (bathrooms and kitchens are not ideal)
-
Don’t water (dried flowers are happiest dry!)
-
Dust gently using a soft brush or hairdryer on a cool, low setting
With the proper care, your wreath can last many months and still look beautiful long after the season changes.
When to Display or Gift a Dried Wreath
Dried flower wreaths aren’t just for Christmas or autumn, they’re perfect for all year round. Hang one in your hallway, above a fireplace, or on a bedroom wall for a soft, botanical touch.
They also make wonderful gifts for:
-
New home celebrations
-
Weddings or anniversaries
-
Mother’s Day or birthdays
-
Bridesmaid keepsakes
-
Sympathy gestures
For something even more special, you can create a custom wreath using flowers from your own garden or a loved one’s bouquet, making it a meaningful piece that lasts.
Final Thoughts
Creating your own dried flower wreath is a fulfilling, creative project that adds a natural, handmade feel to your home. With just a few stems and a little time, you can make something truly beautiful that lasts well beyond a fresh bouquet.
At Dried, we provide carefully selected, eco-wrapped dried flower bundles ideal for wreath-making, gifting, and home styling. Explore our latest collections and seasonal colours to start your own project today.
PREVIOUS:
How to Press and Dry F...